Resources:
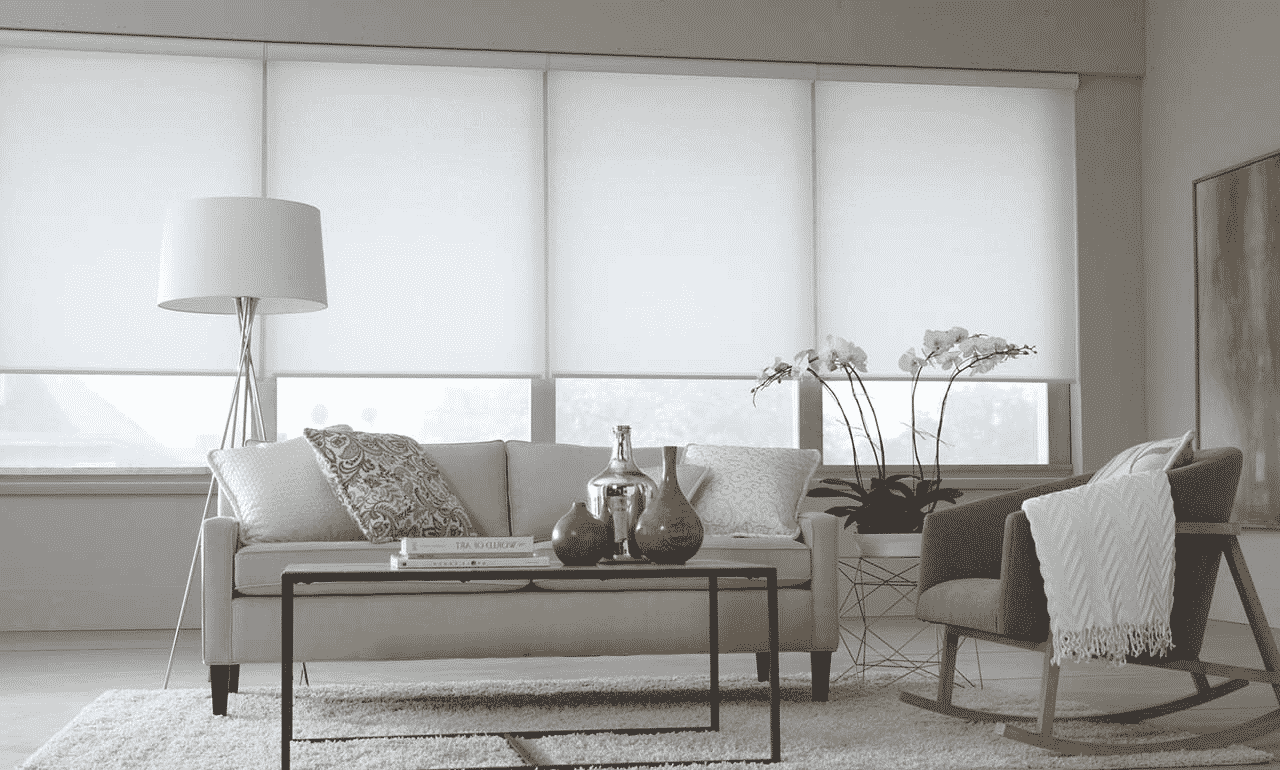
Motorized Blinds
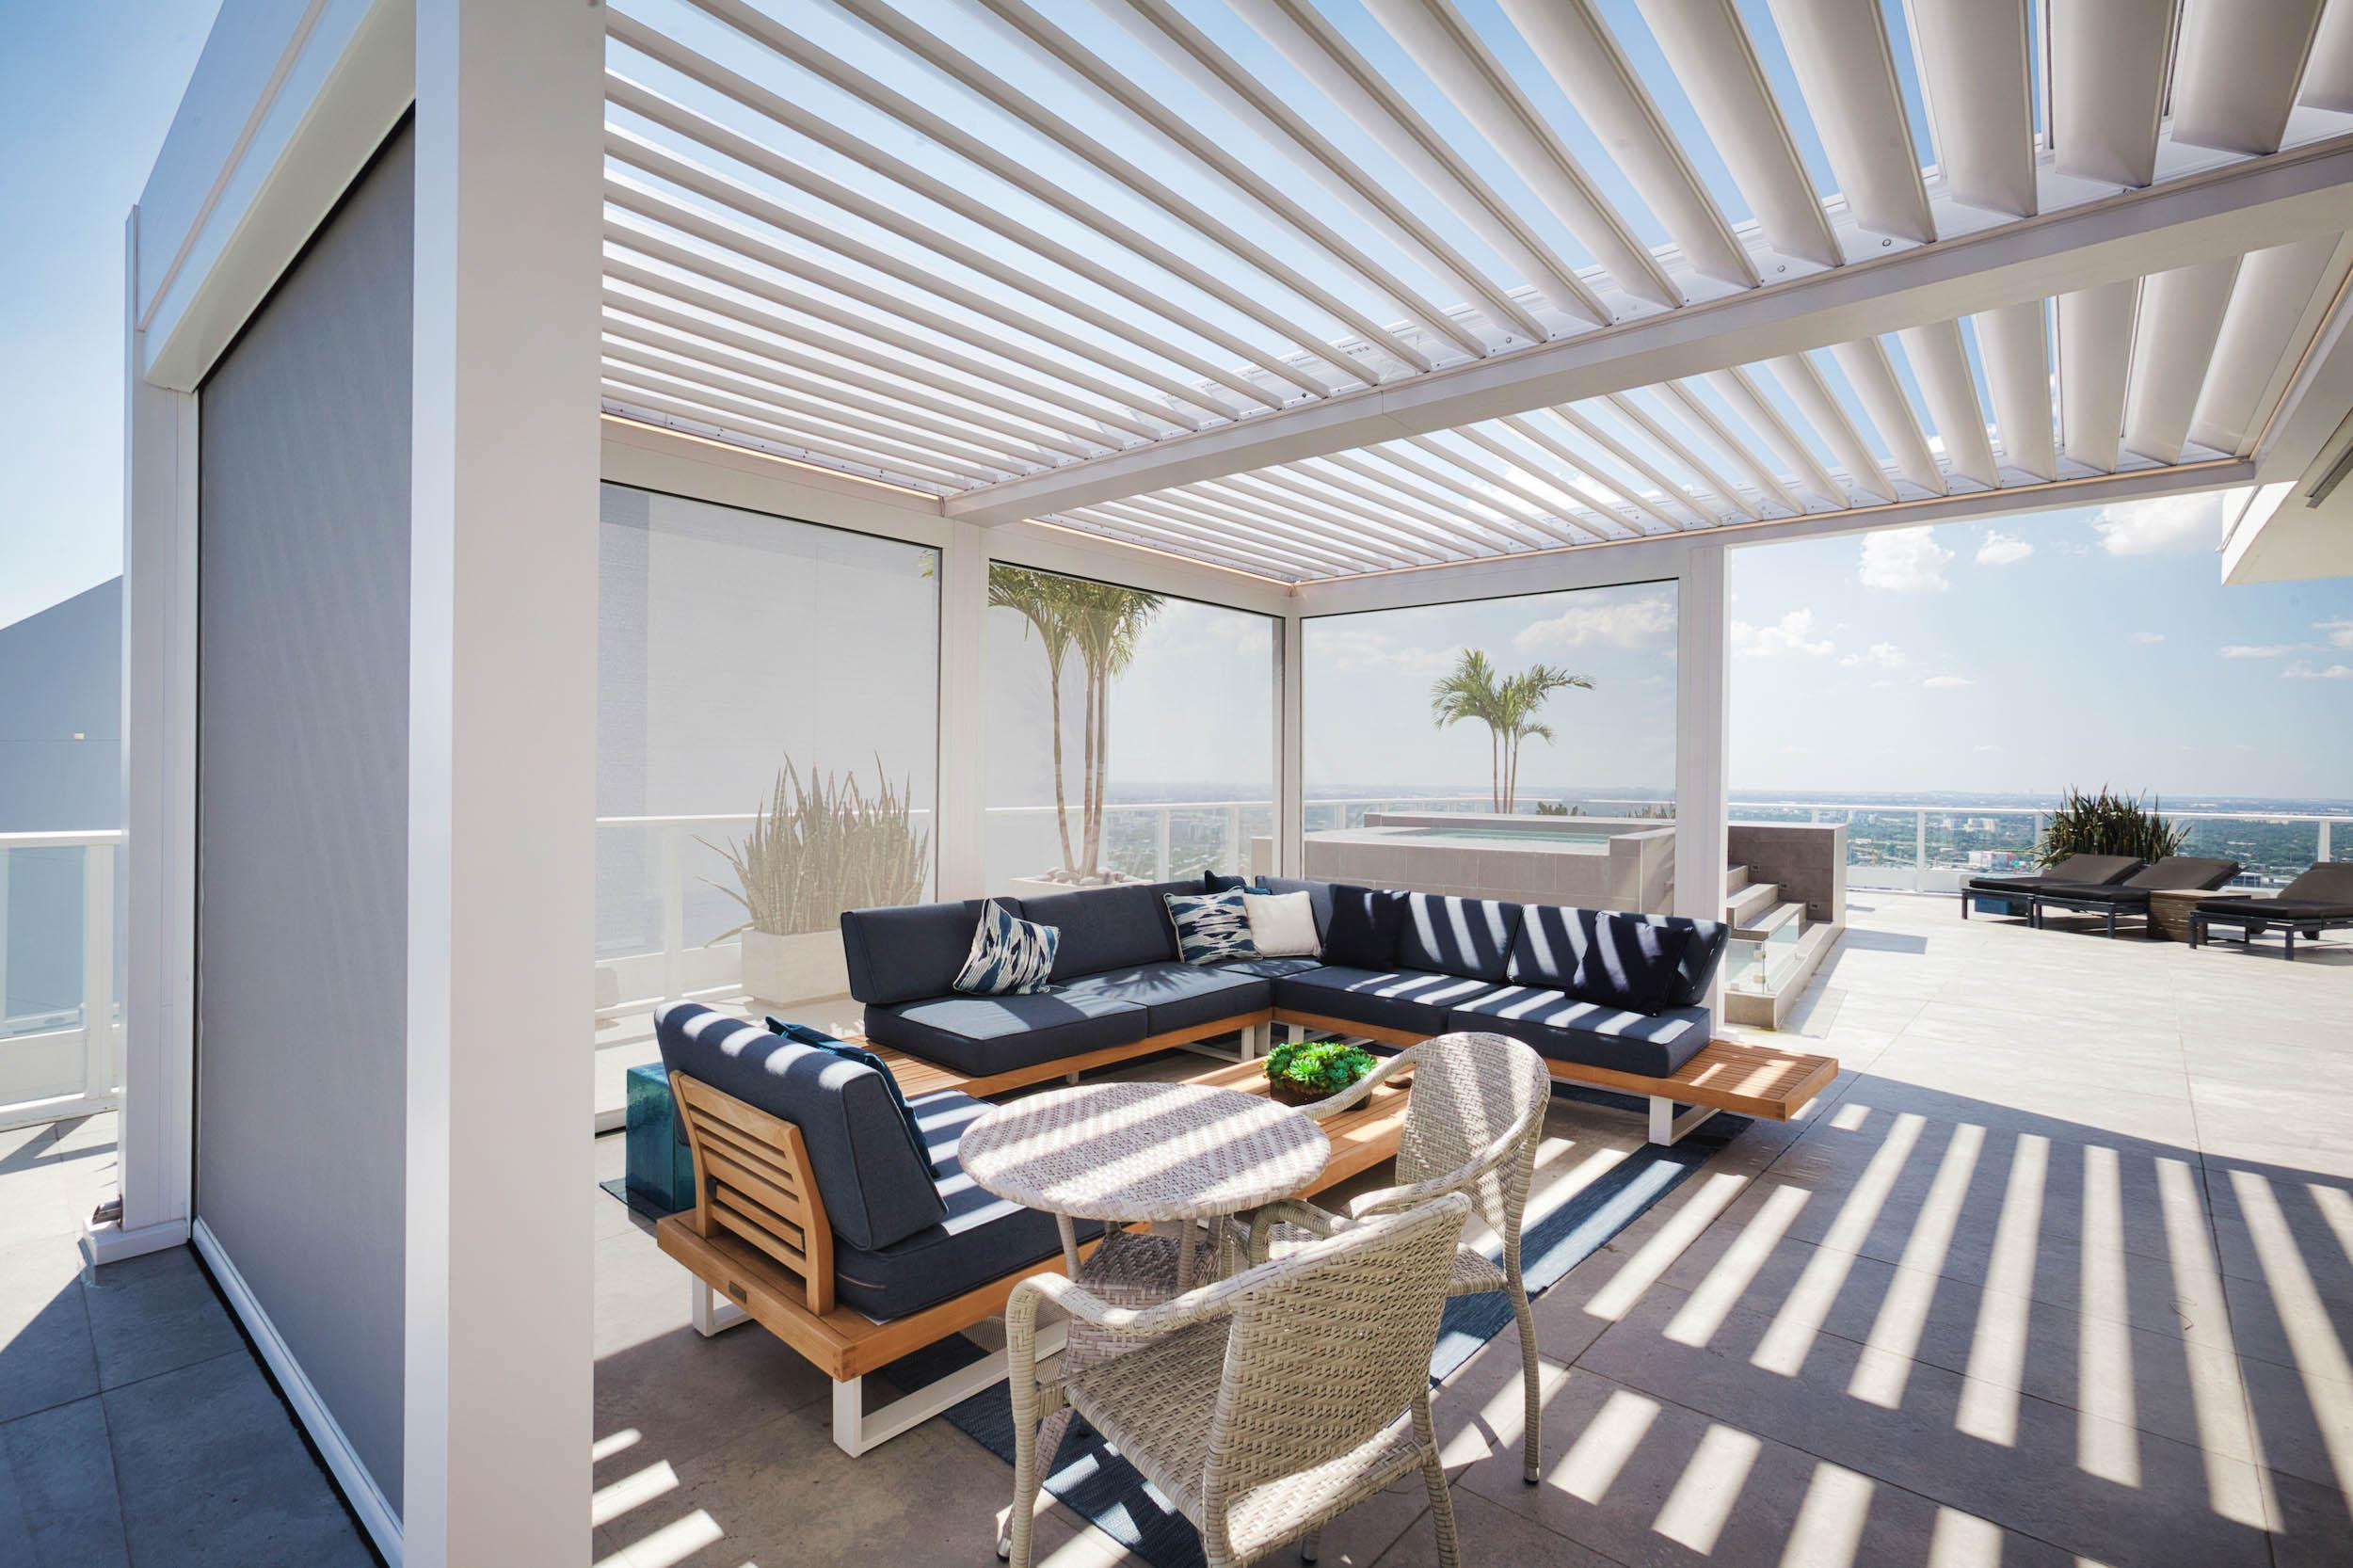
Backed by a lifetime warranty, you will find our products are of the highest quality, yet cost less than going to Lowe’s or Home Depot. With the convenience of in-home appointments we fit your time and budget.
Operation Overview
There are 2 main motorization systems available for window coverings: RFS – Somfy & Simplicity. You can determine which system you have by comparing your remote to the photos below.

Somfy
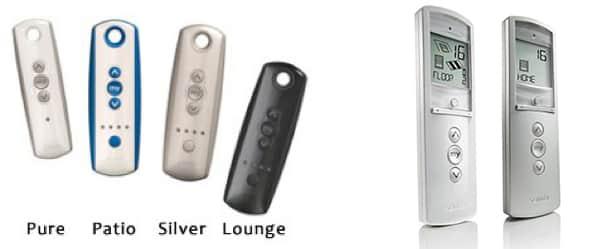
Simplicity
Jump to a Category
Somfy Programming
On the transmitter, press and hold both the UP and DOWN simultaneously until the window covering jogs. A jog is a brief up and down or in and out motion. In PROGRAMMING MODE, the window covering will move only when the UP or DOWN is held (or momentary fashion).
To reverse output direction, simply press & hold the (STOP) until the window covering jogs. Output direction should now correspond.
- Set the Upper Limit: Bring the window covering to desired UPPER limit stop point with the UP button. Press and hold both (STOP) and DOWN simultaneously until the application starts to move, then release. If the window covering stops when the buttons are released, take it back to the UPPER limit and repeat. Stop the motor when desired LOWER limit is reached. You can adjust by pressing UP or DOWN after stopping the motor.
- Set the Lower Limit: Press and hold both (STOP) and UP simultaneously until the application starts to move, then release. The window covering will stop at the UPPER limit that was previously set.
- In case of problems with setting of limits during PROGRAMMING MODE, turn the power off to the motor for 2 seconds and then back on to reset the motor. Please return to PROGRAMMING MODE to initiate programming process.
- Confirm Limit Settings: Press and hold (STOP) until the window covering jogs to confirm the limit settings. A jog is a brief up and down motion.
- Exit Programming Mode: Press and hold the PROGRAMMING BUTTON on the back of the transmitter until the window covering jogs. The window covering is now in USER MODE. In USER MODE, the window covering will operate by briefly pressing the UP or DOWN (or maintained fashion).
To Change the Lower Limit
- Press DOWN to send the window covering to its current LOWER Limit.
- Press and hold both UP and DOWN simultaneously until the window covering jogs. Adjust to a new LOWER limit position.
- Press and hold (STOP) until the window covering jogs, to confirm new limit.
To Change the Upper Limit:
- Press UP to send the window covering to its current UPPER Limit.
- Press and hold both UP and DOWN simultaneously until the window covering jogs. Adjust to a new UPPER limit position.
- Press and hold
Press the or to operate window covering. At the desired intermediate “my” position press (STOP) briefly to stop the window covering. Once the desired “my” position is reached, press and hold (STOP) until the window covering jogs. The “my” position is now added to memory.
Send the window covering to the “my” position by pressing (STOP) from ANY window covering position. Window covering should be stationary prior to activating “my” position function. If window covering is actively moving (in-motion) (STOP) should be pressed twice.
Activate window covering to intermediate position, then press and hold (STOP) for 5 seconds.
- Download the free app from the App store or Google Play.
- Plug the myLink interface into a standard 110V AC outlet. Be sure to place the myLink near the motorized applications you plan to control.
- Open the app and press START NEW SYSTEM.
- Follow the setup prompts. Confirm the status LED is solid red indicating that the myLink is in setup mode.
- Connect the mobile device to the myLink’s WiFi network (ex: Somfy_1234).
- Return to the app and press SEARCH FOR MYLINK.
- In the network dropdown list, choose the network the myLink will join and enter the WiFi network password (if present) and press NEXT.
- The myLink will complete the network auto-configuration process. Once step 4 is complete, click Continue.
- NOTE: Make sure the mobile device rejoins the same WiFi network as the myLink. If not, minimize the app, join the same WiFi network as the myLink, and return to the app.
- Name the myLink and select a room icon. Continue on to RTS Programming.
- From the RTS programming screen, choose from the available application icons.
- Follow the on-screen setup prompts.
- Identify the transmitter that currently controls the motorized product and confirm that it’s working properly. Select the channel that operates the product you wish to program.
- Press the program button on the back of the remote until the shade jogs.
- Press PROGRAM on the app and the shade will jog again.
- NOTE: If the motorized application does not respond to the command, press the RETRY button to send the signal again.
- The programming is now complete for that channel. Simply press CREATE GROUP to program additional motors to the same channel or Press DONE to add additional channels and name them. Repeat the process to create up to five channels. Once RTS programming is complete, press DONE.
- The myLink is now configured and ready to use. Scenes and schedules can now be created.
Simplicity Programming
To unlink a shade, press and hold the CONFIRM button. The shade will give a series of fast beeps (4 beeps/pause/4 beeps/pause/8 beeps). When the series of beeps is complete release the CONFIRM button. All shades previously linked to selected channel will now be unlinked.
Before linking the remote, determine which shade(s) you want on which channel. All shades linked to a remote will also automatically be programmed to the “ALL” channel.
- Press the SETTING button on the motor until the motor starts to beep. Release immediately after the beeps start. The motor will make 4 fast beeps followed by 5 long beeps.
- Press the CONFIRM button on the remote anytime during the series of long beeps. It must be pressed before the last long beep. The motor will respond with 3 fast beep confirming that the shade has been linked.
- Repeat step 1&2 for all shades that will be controlled by the same channel. (It is not recommended to put more than one shade on a channel).
- Repeat steps 1-3 to link remaining shades to the rest of the channels.
Remember: If setting limits on multiple shades on the same channel, unplug the previously set shades so they are not reset. If using a timer remote, tap the clock button until you see “Manual” in the display.
- Hold the LIMIT button until the shade starts beeping.
- After the shade stops beeping. Use the DOWN button to lower the shade. Press stop when the shade is near the desired lower limit.
- Use the UP and DOWN buttons to adjust the length more accurately.
- Hold the CONFIRM button until the shade makes a series of short beeps. [This locks in the lower limit]
- Use the UP button to raise the shade. Press STOP when the shade is near the desired upper limit.
- Use the UP and DOWN buttons to adjust the upper limit more accurately.
- Hold the CONFIRM button until the shade makes a series of short beeps. [This locks in the upper limit]
When setting limits, you must ALWAYS set both the lower and upper limit.
Note: If a favorite position is desired, set favorite position prior to relinking other shades on the channel.
When making changes to the favorite’s position on one shade, the other shades on that channel need to be temporarily unlinked from the remote.
- Use the UP or DOWN buttons to position the shade at the desired “favorite” position.
- While holding the LIMIT button, quickly press and hold the UP button. Release both buttons when the shade makes a series of short beeps.
- When complete, relink “turned off” shades by following the steps in LINK REMOTE.
- With the shade at either the upper or lower limit, simply press the STOP/FAVORITE button to bring the shade to the “favorite” position.
- To go to the “favorite” position from any other make sure the shade has been stopped for at least 3 seconds before pressing the FAVORITE button.
- Use the UP or DOWN buttons to position the shade at the desired “favorite” position.
- While holding the LIMIT button, quickly press and hold the UP button. Release both buttons when the shade jogs.
- To erase a “favorite” position, bring the shade to the UPPER limit.
- Press and hold the LIMIT button on the back of the remote, then press and hold the UP button. Release both buttons when the shade jogs.
- Press and hold the “Limit” and the “Stop” buttons on the remote at the same time. The motor will jog.
- When the motor jogs, let go of both buttons at the same time. The direction of the motor has now been reversed.
(also known as When it Doubt, Clear it Out)
If all else fails, or you become confused, simply REBOOT and RELINK to begin the entire programming process over. We call this, “When in Doubt, Clear it Out”
Before beginning this process:
- Unlinking a shade unlinks it from all channels it has been programmed to on the remote.
- To erase all programming on a channel, complete a full reboot/relink.
- To Link Shades, you must locate the reset button on the shade. For Honeycomb Shades, the shade must be uninstalled to access the reset button
- Press and hold the RESET button for 8 seconds. The motor will go through a series of jogs. Release the reset button after the full series of jogs.
- Press and hold the “reset” button again until the shade jogs once.
- Select the desired channel on the remote.
- On the back of the remote, press and hold the CONFIRM button until the shade jogs (if the shade does not respond, repeat these steps)
- Press and hold the LIMIT button for at least 6 seconds or until the shade jogs.
- Set the Limits
- Press and release the DOWN button on remote for 2 seconds, the shade will move continuously down. When the shade nears the desired lower limit, press the “stop” button on the remote.
- Adjust the final shade positioning by tap the “up” or “down” buttons on the remote to fine tune the position.
- Once the shade is in the desired position, press the CONFIRM button on the back of the remote.
- The motor will jog indicating the lower limit is set.
- Repeat for the upper limit.
The timer remote allows up to 18 different timer schedules. Each timer schedule can be set for multiple channels and days, but only one function can happen at each time.
- Use the power button to turn on the remote.
- Tap the CLOCK button until you see “AUTO” in the display.
- While holding the LIMIT button, push the CLOCK button for 3 seconds and release. The time will flash, then display “No 1” and flash “FF:FF”. If you want to set a different timer schedule press CLOCK for 1 second to scroll through the schedules (No 1, No 2, No 3 etc.). Unprogrammed schedules will display FF:FF.
- Use the STOP button to select the channel and move on to the next one. Use the UP arrow to skip a channel and the DOWN arrow to back up.
- Use the STOP button to select the day and move on to the next one. If the channel is still flashing, it has not been selected.
- Press CHANNEL button to confirm channels and advance to day selection.
- Use the UP arrow to skip a channel and the DOWN arrow to back up. You must press STOP for each day that you want to select. If the day is still flashing, it has not been selected.
- Press CHANNEL button to confirm days and advance to hour selection.
- Use the UP and DOWN buttons to set the hour. Note: Time is in 24 hour format (military time). For example: 1:00pm will be displayed as 13:00.
- Press STOP button to confirm hour and advance to minutes.
- Use the UP and DOWN buttons to set the minutes.
- Press STOP button to confirm minutes and advance to shade operation.
Shade operation symbols are to the right of the time.
- Use the UP and DOWN buttons to select the operation. will raise the shade, will lower the shade, will bring the shade to the favorite position.
- Press STOP button to confirm operation.
- Push the CLOCK button for 3 seconds and release. The display will flash to confirm settings are saved and advance to the next schedule. Repeat the steps above for each desired schedule.
Important Notes: Remote must be in AUTO mode for the set schedules to operate. To return to MANUAL mode, tap the CLOCK button.When remote is in Auto mode, the display will alternate between the current time/day and the time/day/channel for the next upcoming schedule.
Example: No 1:CH1 & CH2, MO TU WE TH FR, 6:00
Use the power button to turn on the remote.
- Tap the CLOCK button until you see “manual”on the display.
- Push and hold the LIMIT button. While holding the LIMIT button, push the CLOCK button for 3 seconds and release. The hour digits will flash.
- Use the UP and DOWN buttons to set the current hour. Note: Time is in 24 hour format (military time). For example: 1:00pm will be displayed as 13:00.
- Press CHANNEL button to confirm hour and advance to minutes.
- Use the UP and DOWN buttons to set the current minute.
- Hold the CLOCK button for 3 seconds. Display will flash and then display the current time and day.
Somfy Troubleshooting
- Verify the motor is powered
- Allow time for motor to cool off after continuous operation (we recommend at least 15 min) (motors are equipped with a thermal shut off for safety).
- Verify all sensors on location are within RTS range and are working properly
- Check the transmitter batteries (LED should flash with a button press)
- Verify that the transmitter you are using is properly programmed into the motors memory
- Do not cut power cable shorter than 12 inches (the power cable acts as an antenna)
- Verify there is no outside radio interference on location (some examples would be airports, marinas, army bases, weather or security systems.
- In PROGRAMMING MODE and LIMIT ADJUSTMENT MODE the radio reception of the motor is reduced. It is necessary to move the transmitter closer to the motor head during this time.
- If your shade uses a battery tube for power, thoroughly inspect the tube spring for discoloration and power leads for any breakage or shorting in the power lead wire.
- Make sure batteries are loaded in the tube correctly.
- When loading batteries in the tube, hold the tube sideways and PUSH the batteries into the tube. If the tube is held vertically (up & down), the batteries fall into the tube hitting against one another and WILL damage the seals on the batteries and ultimately lead to battery failure.
- Make sure all batteries are pointed the same way.
- Do not drop the tube. Dropping the tube can damage the battery seals and break or short out the wiring.
- If you test the batteries with a tester and find that the tester reads a good battery, replace ALL of them anyways just to see if this is the problem. Some testers are cheap and provide bad readings.
- Using a small screwdriver loosen the screws on the backside of the remote control and remove the back cover.
- Replace with one 2430 Lithium 3V battery. The battery in the Telis series remotes has a life of around 5 years depending on daily usage. Dropping the remote control can damage it. If it worked before you dropped it or stepped on it then you probably broke it.
Simplicity Troubleshooting
See Video:
- Does the shade begin to “jog” as soon as it’s plugged in?
- If No: move on.
- If Yes: the RED reset button in the motor is stuck. Use a paperclip or other small edge to pull the button back out.
- Is the battery wand plugged in correctly?
- If Yes: Move on
- If NO: Plug in the battery wand
- Are the batteries fresh?
- If YES: Move on
- If NO: Replace the batteries. Standard AA or Lithium batteries may be used
- Are the batteries inserted into the wand correctly?
- If YES: Your shade is most likely not linked. Perform REBOOT and RELINK (remember: When it doubt, Clear it out).
- If No: Replace batteries in their correct orientation
Are the batteries fresh?
- If YES: Perform REBOOT and RELINK (When it Doubt, Clear it out.)
- If No: Replace the batteries.
Did the remote work before?
- If YES: Replace the batteries
- If NO: Perform REBOOT and RELINK
Your shade is rotating in the wrong direction and you need to reset the shade rotation direction via remote. See “Changing the direction of the Motor” below.
Recharge motor.
The limit setting was unsuccessful and needs to be reset.
Replace the battery in the remote (CR2430 for standard remote, CR2450 for timer remote).
See Video:
See Video:
Ready for a free in-home consultation?