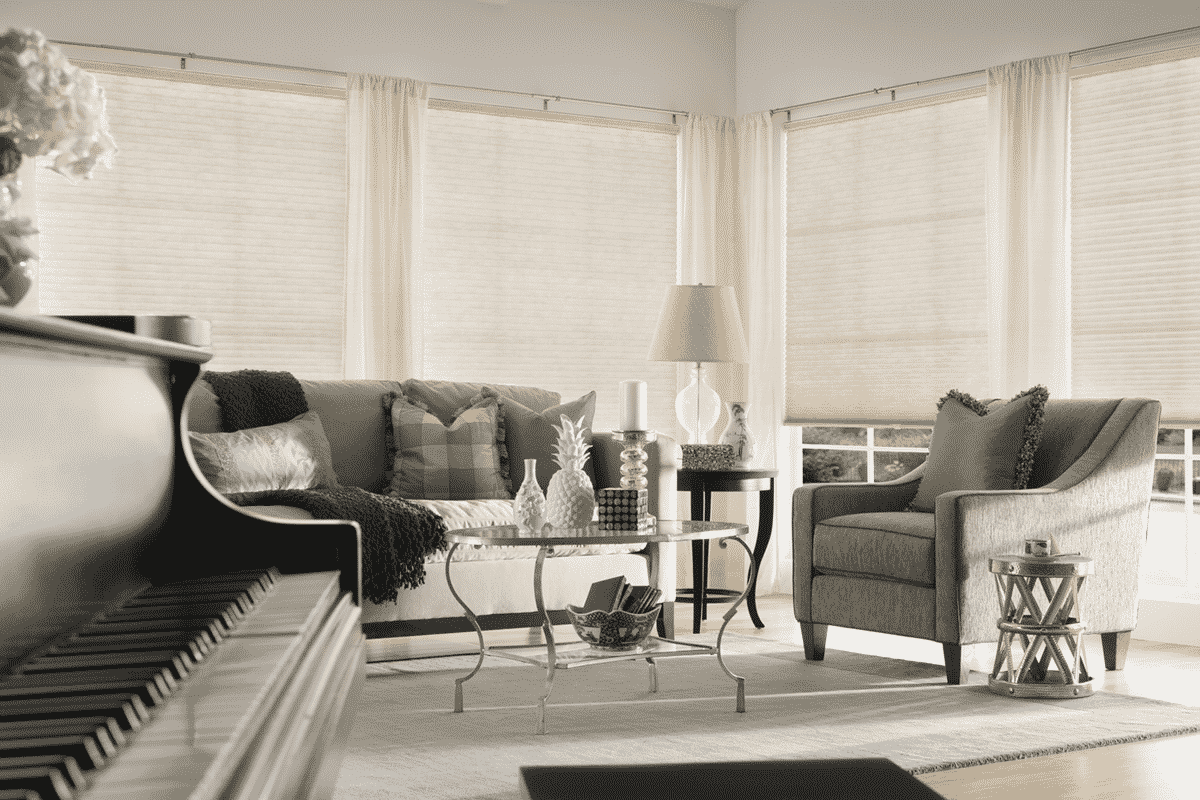
Honeycomb Shades
Backed by a lifetime warranty, you will find our products are of the highest quality, yet cost less than going to Lowe’s or Home Depot. With the convenience of in-home appointments we fit your time and budget.
Care & Cleaning
Dusting
Dust your shades regularly using an ordinary soft, clean cloth, dust cloth or mitt, feather-like duster, or cylindrical dust brush specially designed for shades.
Vacuuming
For deeper cleaning, vacuum gently with a brush attachment.
Compressed Air/Hair Dryer
Use a can of compressed air or a handheld hair dryer on the COOL setting to blow off dust and debris.
Spot Cleaning
Use a soft cloth or sponge moistened with lukewarm water and mild detergent. Blot gently to avoid creasing or damaging the fabric.
Ultrasonic Cleaning
Professional ultrasonic cleaning is recommended for most, but not all, Honeycomb fabrics. DO NOT USE with any Blackout fabrics.
Injection/Extraction Cleaning
This type of cleaning injects a cleaning solution into the fabric and immediately extracts the dirty solution. The service is typically performed in the home. Search online or consult your local Yellow Pages.
Operation
Standard Cordless Shades
Overview
Raising Your Shade
Pull the cord toward the center of the shade (approximately 30° from vertical) until the lock is released. Continue pulling the cord at this angle until the shade reaches the desired position. To lock, move the cord back toward the edge of the shade and release.
Lowering Your Shade
Pull the cord toward the center of the shade (approximately 30° from vertical) until the lock is released. Let the cord slip slowly through your fingers until the shade reaches the desired position. To lock, move the cord back to the edge of the shade.
Cordless Lift Shades
Lift/Lower Shades
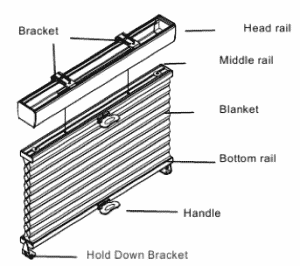
Firmly grasp the handle or center of the bottom rail, then lift or lower the shade to the desired position.
Vertical Application
Open/Close Shades
Grasp the handle on the side rail and pull the shade back and forth across the window.
Troubleshooting
Relaxing a New Shade
Pull the shade into the full down position. Use both hands to gently stretch the fabric. Pull evenly on each side. Leave the shade in the full down position for 24 hours.
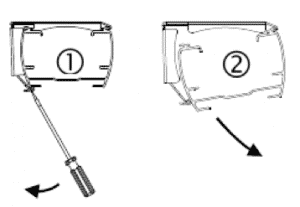
Removing a Cell Shade
- If your shade simply opens from the bottom up, then raise the shade to the full up position.
- If your shade opens from the bottom up and from the top down, then move the middle rail to a position in the middle of the window.
Gently pry off the head rail with a flat screwdriver as shown in the picture below.
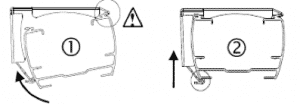
Re-Installing a Cell Shade
Position head rail at an angle so that it is hooked to the front of the bracket. Then push it upward to snap in the bracket.
What Products Are You Interested In?
Zinga's Custom Window Coverings
STEP 1: Complimentary In-Home Consultation
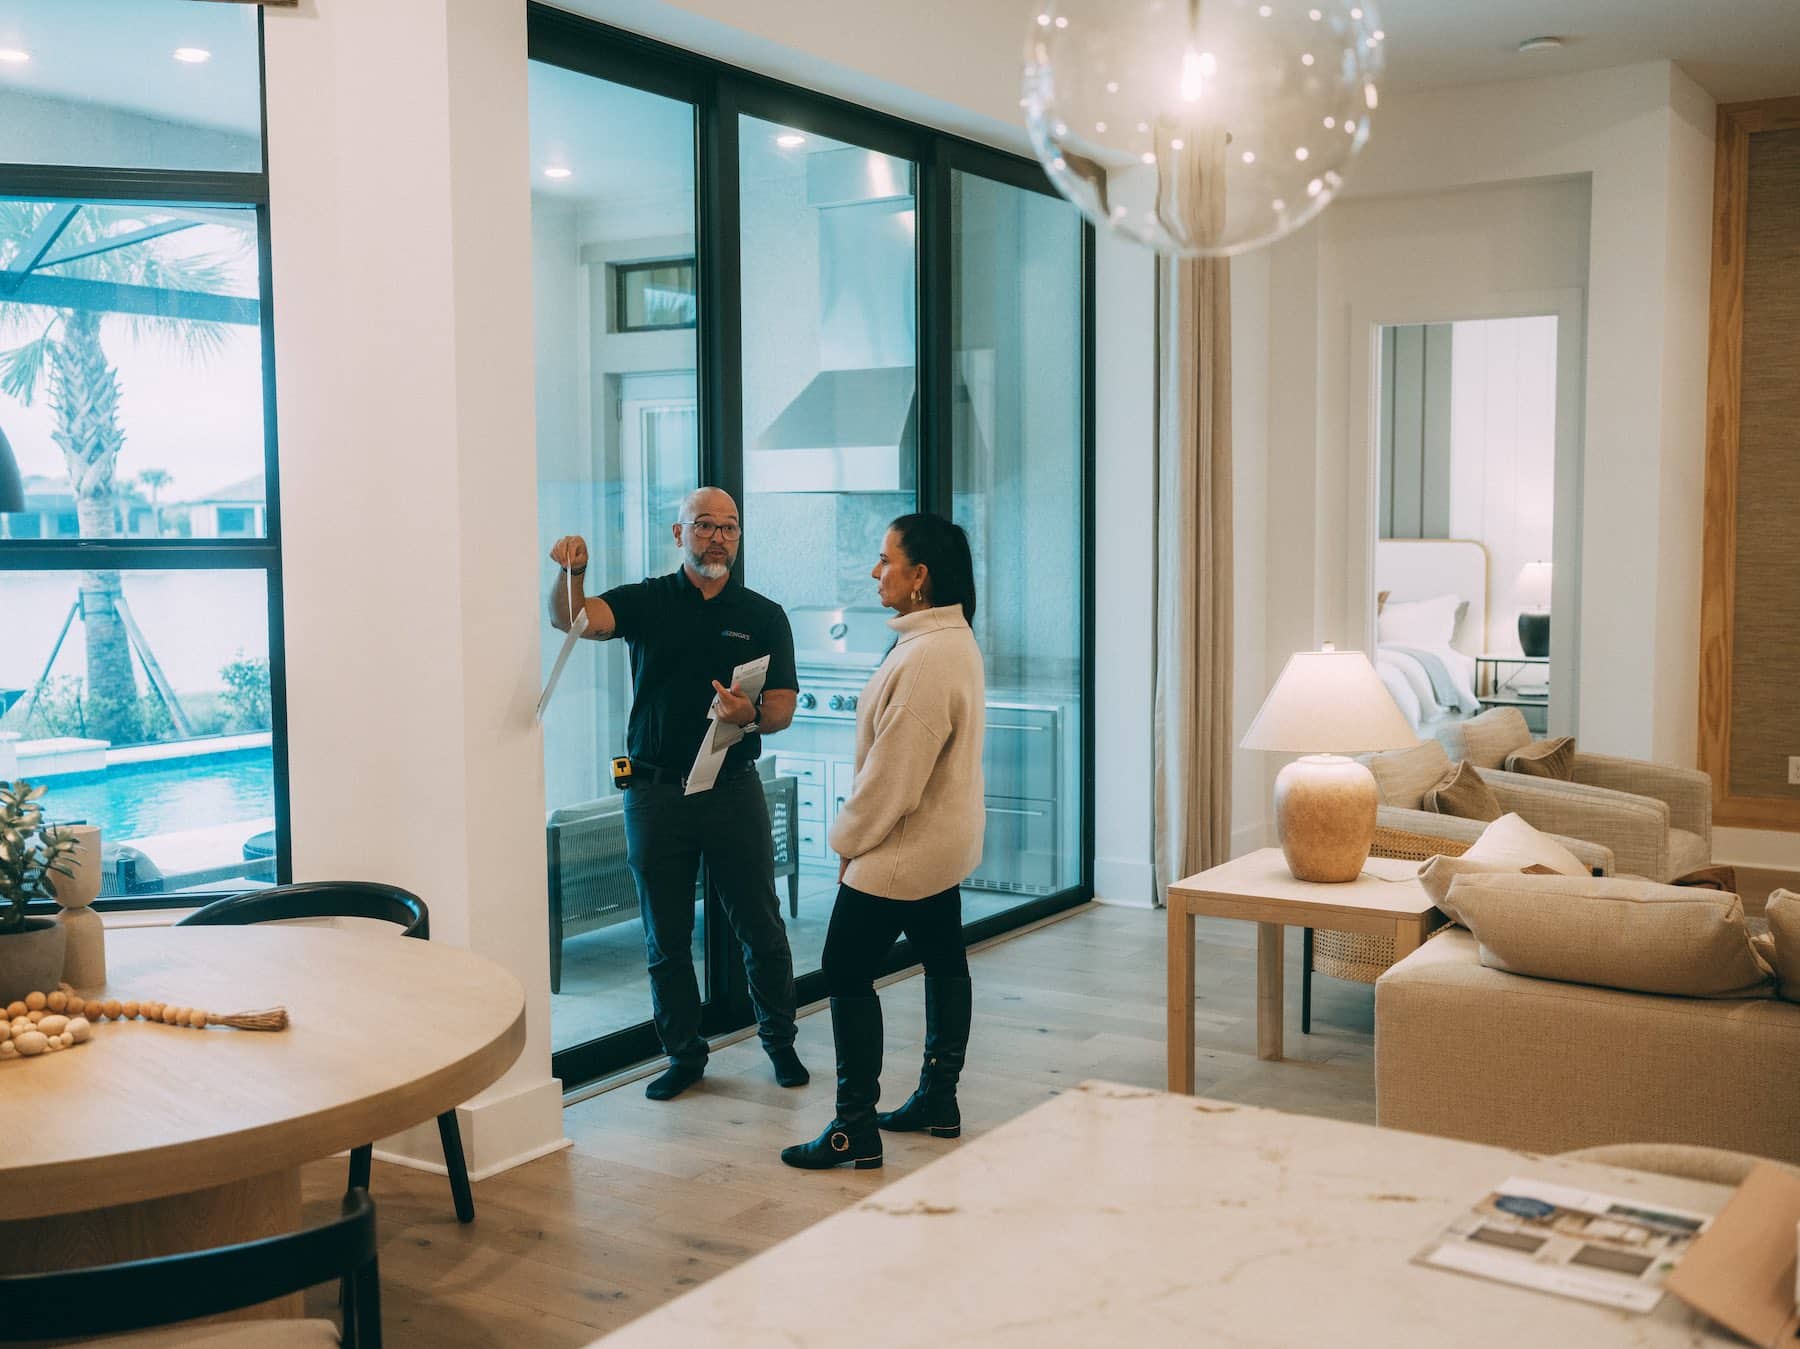
We bring sample products & fabrics directly to your home so you can see and feel the products in your home.
STEP 2: Precise Measuring & No Pressure Quote
We take precise measurements of all your windows and provide you a no pressure quote at the time of your consultation.
STEP 3: Hassle Free Installation
Installation completed by Zinga's employee who are experts in their craft. Free yourself of the stress of installing.
Building a Home?
Building a home can be stressful enough, let us take the burden of window treatments off your hands. We will meet with you after your drywall is complete and can install as soon as you move in!


Who Is Zinga’s?
Zinga’s has been offering window treatments for 25 years and has grown 25% year over year! How did we do that? Simple, we’ve put our customer first. We genuinely love our customers and giving them great service. We want to wow our customers and when you wow your customers they give great referrals. See our over 2000+ reviews, our customers speak for themselves!
Learn More About Zinga's

