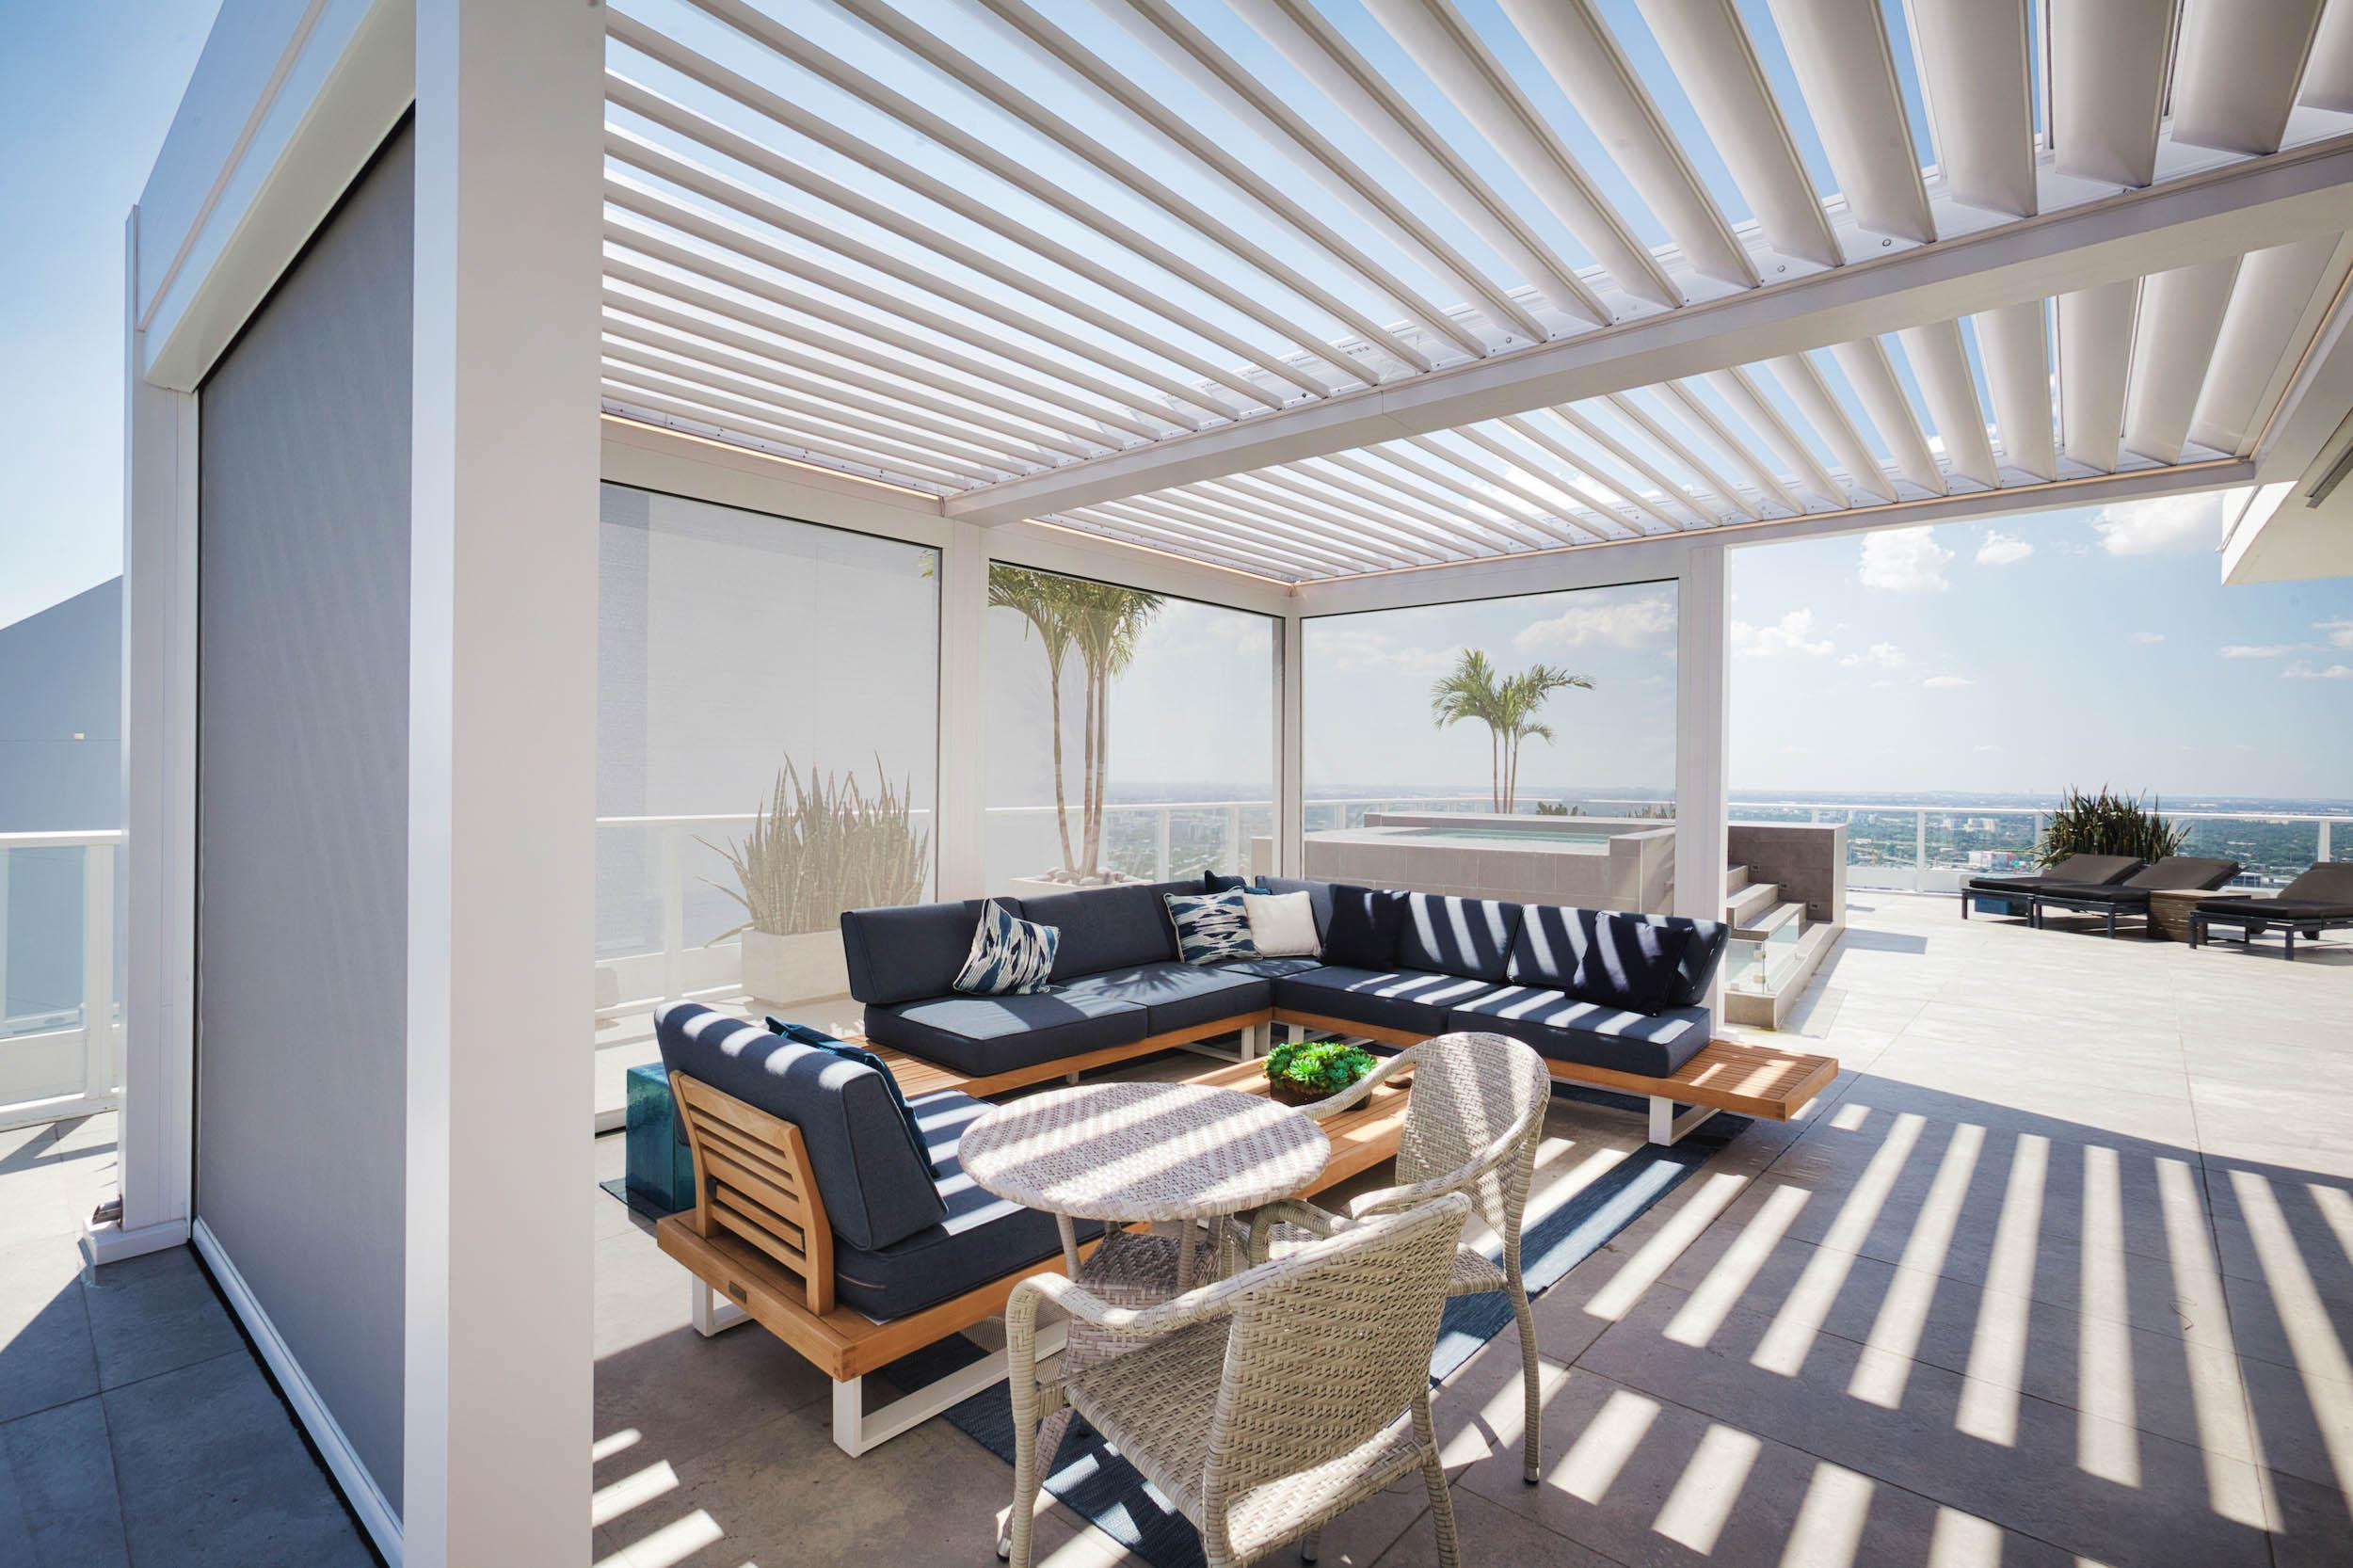
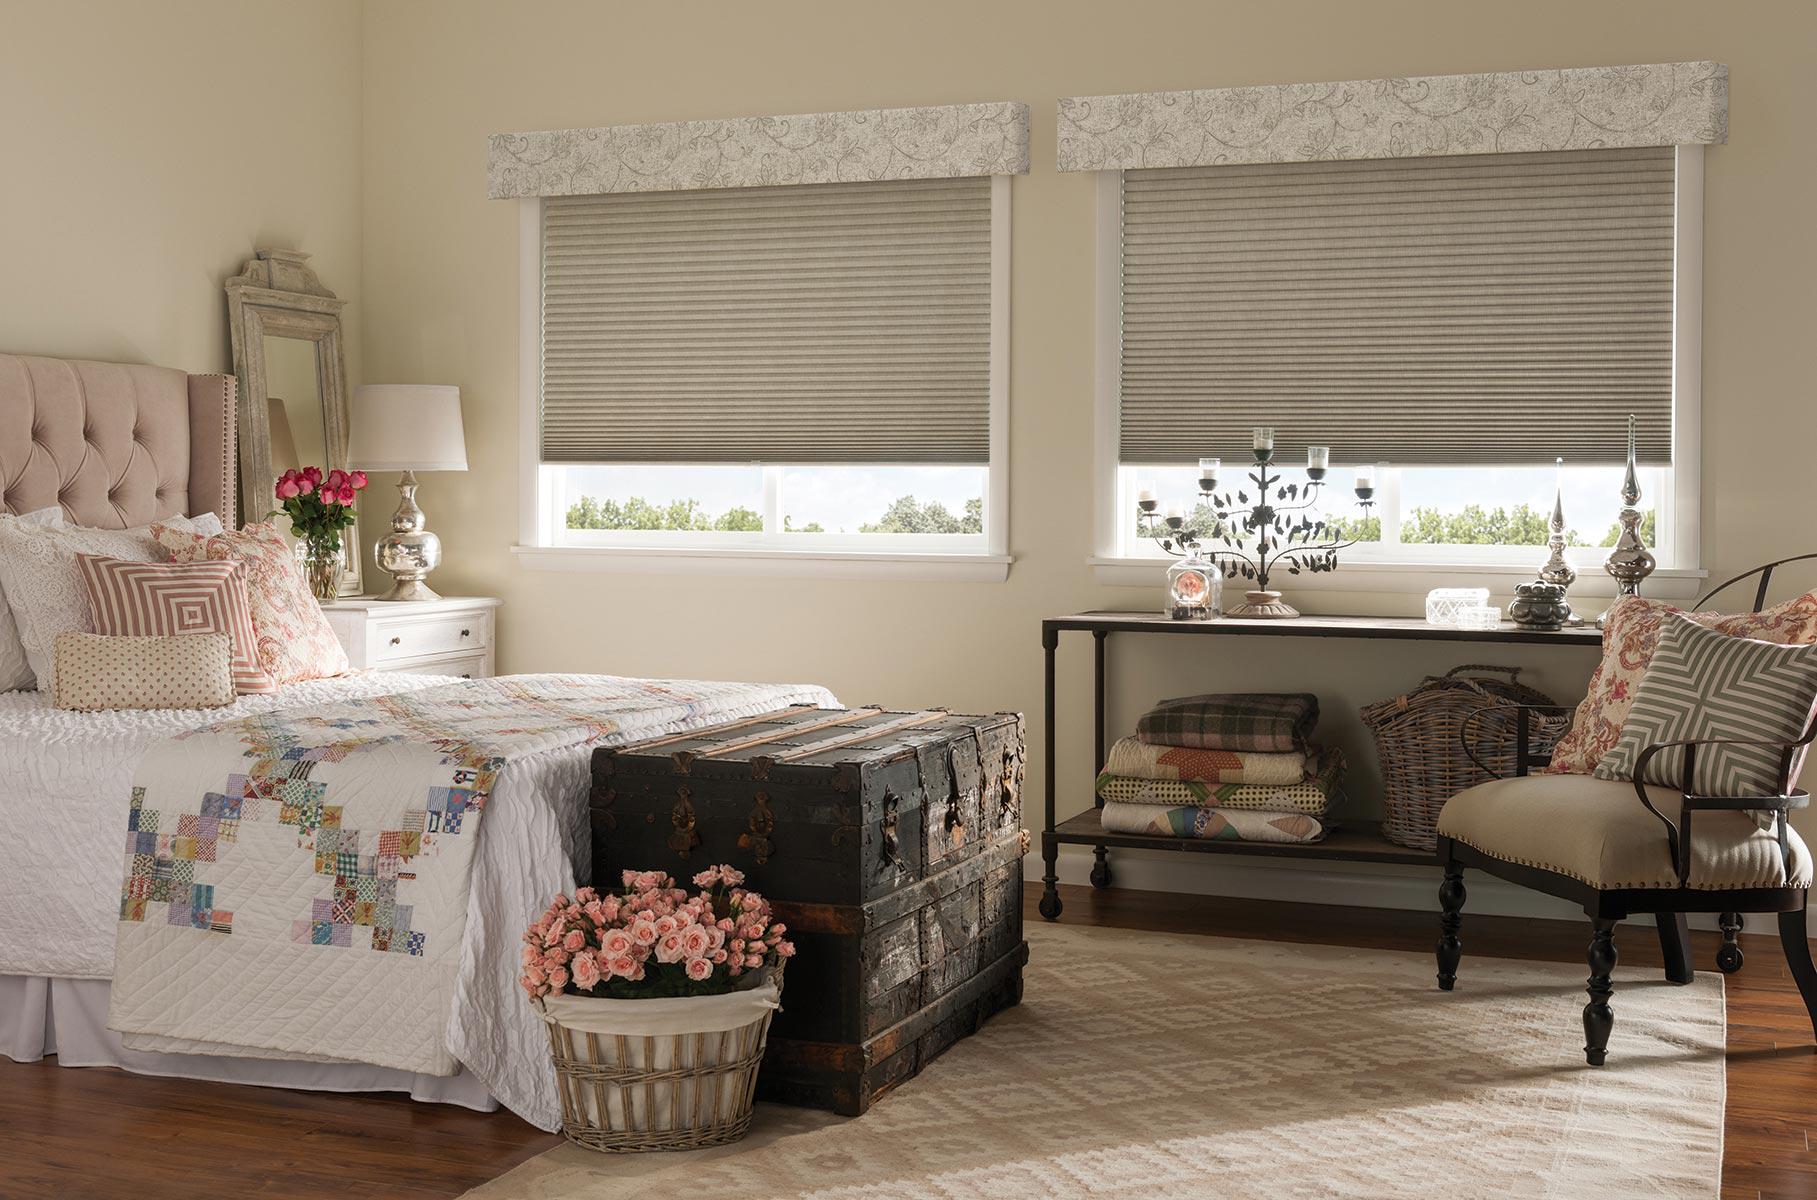
Window Shadings are 100% polyester and are treated to help resist dust, dirt, and stains.
Dust your shadings regularly using an ordinary soft, clean cloth, dust cloth or mitt, featherlike duster, or cylindrical dust brush specially designed for shades. DO NOT USE magnetic cleaners such as a dusting mitt on light-dimming fabrics. This will damage the light-dimming backing.
For deeper cleaning, vacuum gently with a brush attachment.
Dryer Use a can of compressed air or a handheld hair dryer on the COOL setting to blow off dust and debris.
Professional ultrasonic cleaning is recommended for Window Shadings.
This type of cleaning injects a cleaning solution into the fabric and immediately extracts the dirty solution. The service is typically performed in the home. Search online or consult your local Yellow Pages.
Pull the rear cord of the cord loop down to lower the shading. With the shading fully lowered, continue to pull the rear cord to tilt the bottom rail and open the vanes.
Pull the front cord of the cord loop down to close the vanes and raise the shading.
NOTE: If the cord tensioner moves up the cord while operating, you have not secured it to the wall or window frame. You must do so for the shading to operate properly.
Gently pull down on handle. (Handle will retract when released.) When shading is fully lowered, continue pulling down on the handle until the vanes open to desired position.
Slightly pull down on handle (about 1″) and release. The vanes will close first, then shading will retract into headrail.
NOTE: To reposition the shading, it must be raised several inches first to reset the mechanism and then pulled down to the new position.
IMPORTANT: If the shading raises or lowers unevenly, the fabric rubs against one end of the headrail, or the bottomrail is uneven when fully raised, the bottomrail weight needs to be adjusted. To do so, release the weight clips on the bottomrail by inserting a flat blade screwdriver into the weight clip and turning clockwise. Move the weight in 1″ increments toward the side where the fabric is gathering. Secure the weight clips back into position by counterclockwise after making the adjustment. Test and adjust again as necessary.
6151 Lake Osprey Dr, 3rd Floor, Sarasota, FL 34240
Mon - Fri 8 AM to 8 PM EST
Sat - Sun 9 AM to 5 PM EST
12557 New Brittany Boulevard Suite 3, Fort Myers, FL, 33907
Mon - Fri 8 AM to 8 PM EST
Sat - Sun 9 AM to 5 PM EST
600 Marriott Drive, Suite 315 Nashville, TN 37214
Mon - Fri 8 AM to 8 PM EST
Sat - Sun 9 AM to 5 PM EST
3815 River Crossing Parkway Indianapolis, IN 46240
Mon - Fri 8 AM to 8 PM EST
Sat - Sun 9 AM to 5 PM EST
7320 E Fletcher Ave Tampa, FL 33637
Mon - Fri 8 AM to 8 PM EST
Sat - Sun 9 AM to 5 PM EST